
Clash Mi Download & Installation Guide | Clash Mi v1.0.15 Cross-Platform Network Tool
Clash Mi is a graphical user interface client for Mihomo (Clash.Meta) developed based on Flutter. It features a simple design and a built-in high-performance Mihomo kernel, supporting Windows, macOS, Android, Linux, and iOS platforms.
Official Repo ↗

WindowsmacOSiOSAndroidLinux
App Preview:
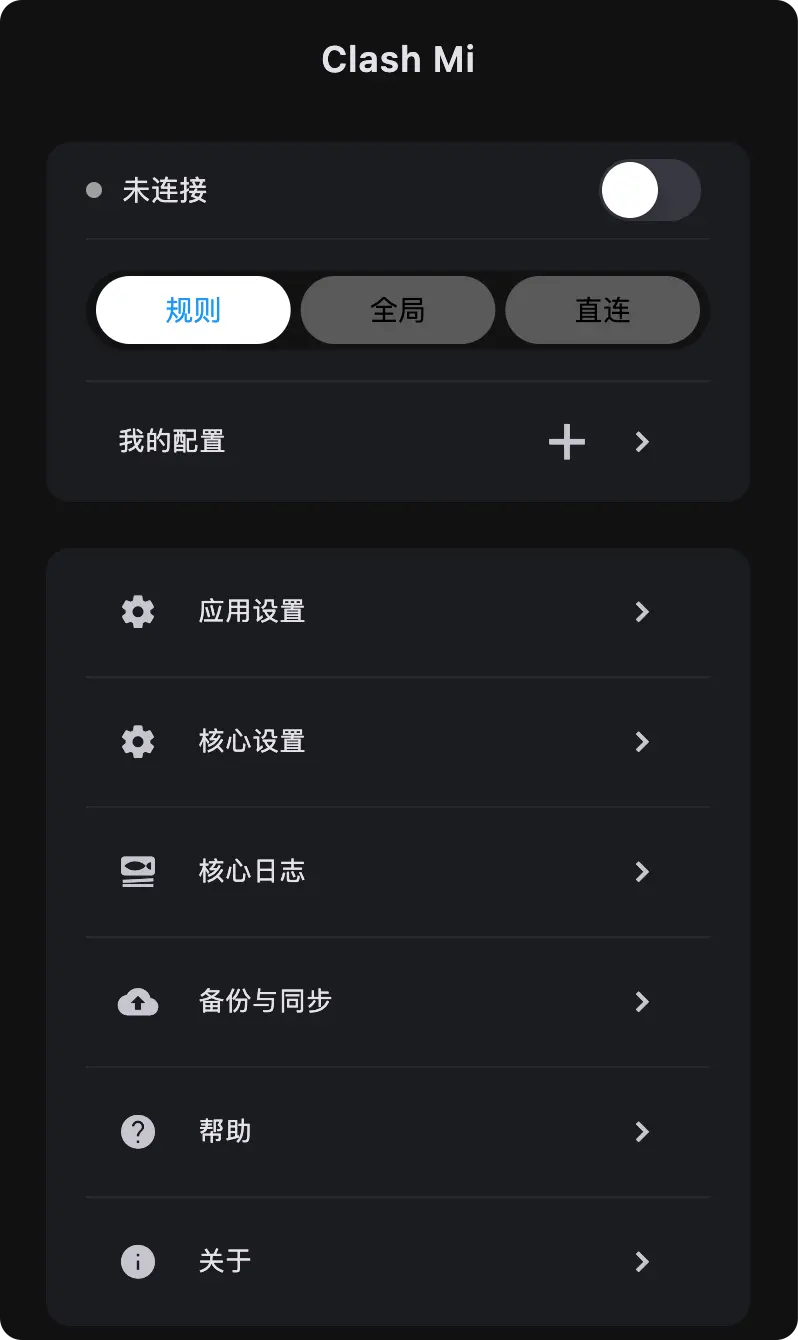
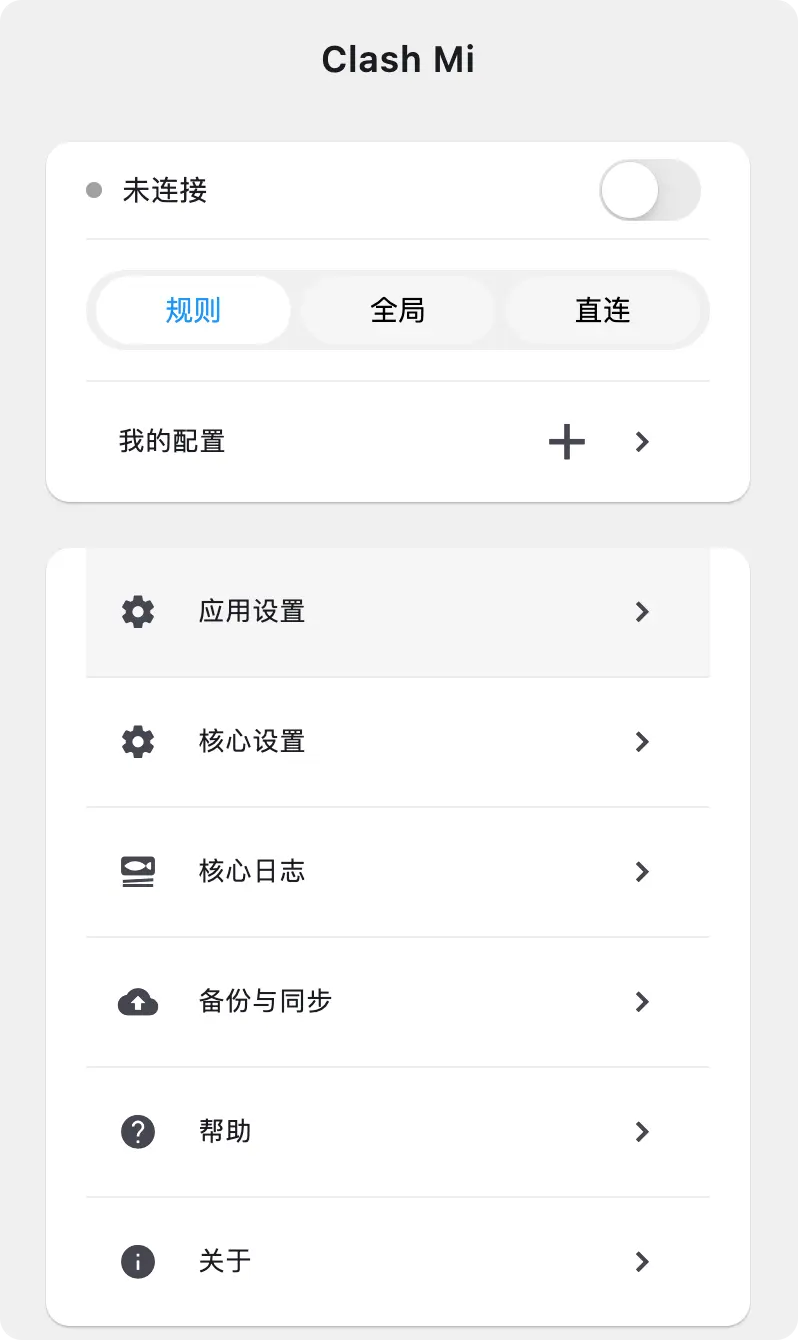
Clash Mi Download
Below are the download links for Clash Mi versions. It is recommended to download the latest version for the best experience.
| Platform | Architecture | Note | Official Download | Fast Download |
|---|---|---|---|---|
| Windows |  | ⭐Recommended | Download | ⚡️Fast |
 | Portable | Download | ⚡️Fast | |
| macOS |  | M-Series & Intel | Download | ⚡️Fast |
| Android |  | ⭐Recommended | Download | ⚡️Fast |
 | Older Devices | Download | ⚡️Fast | |
| Linux |  | Universal | Download | ⚡️Fast |
 | .deb | Download | ⚡️Fast | |
 | .rpm | Download | ⚡️Fast | |
| iOS |  | App Store | Go to Store | - |
 | Public Beta | Join Beta | - |
For complete version history, please visit GitHub Releases.
Clash Mi Configuration
1. Installation
- Windows: Download the
.exeinstaller and run it. If you see a SmartScreen prompt, click "More info" and then "Run anyway". - macOS: Download the
.dmgfile and drag Clash Mi to the Applications folder. If it cannot be opened, allow it in "System Settings > Privacy & Security". - Android: Download the
.apkfile and install it. You may need to allow installation from unknown sources. - iOS: Download directly from the App Store or join the beta via TestFlight.
- Linux: Supports Debian/Ubuntu (
.deb) installation.
2. Get Configuration
Before using the client, you need to obtain a Clash configuration link. This is usually provided by your service provider. If you don't have a how-choose-service yet, learn how to choose a suitable how-choose-service
- After registration, click the "Free Trial" button on the homepage.
- Click to copy the how-choose-service address.
3. Import Configuration
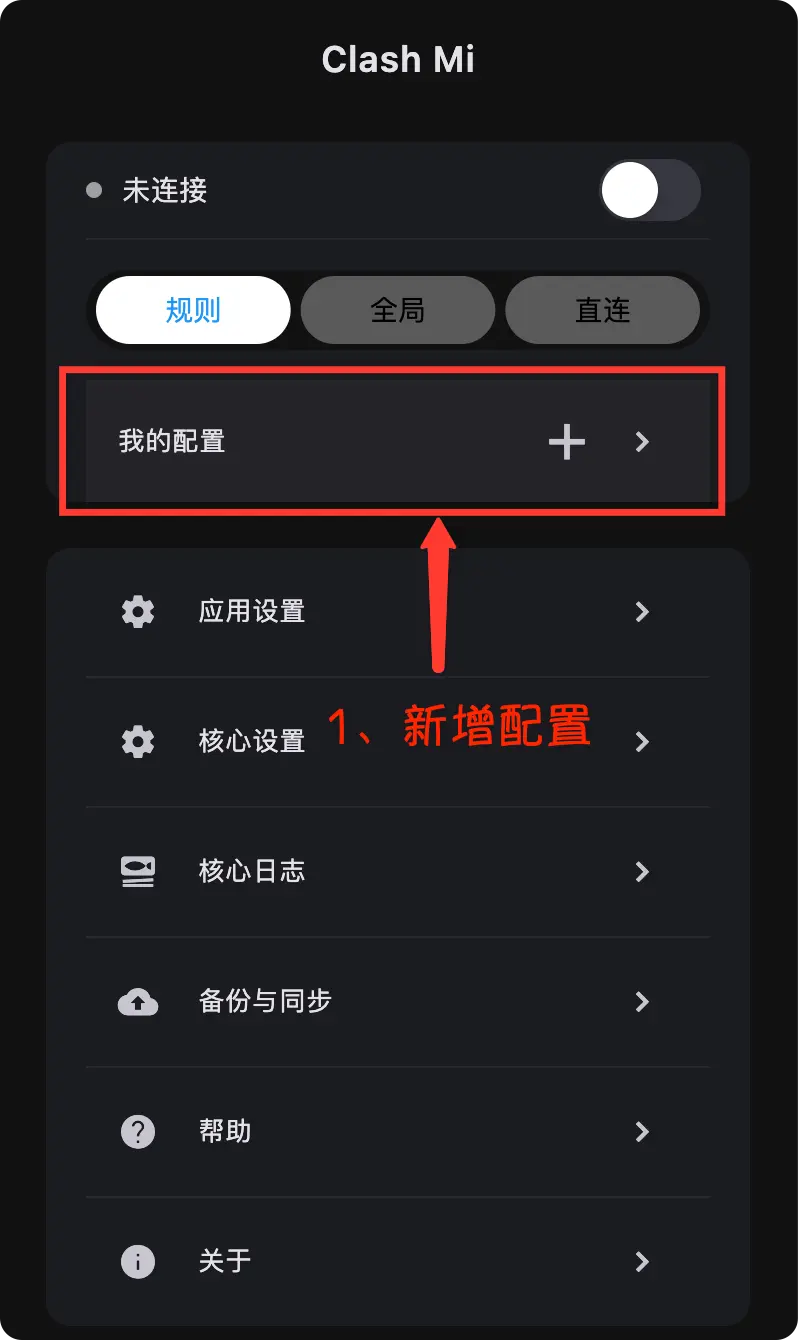
Open Clash Mi and go to the configuration management interface.
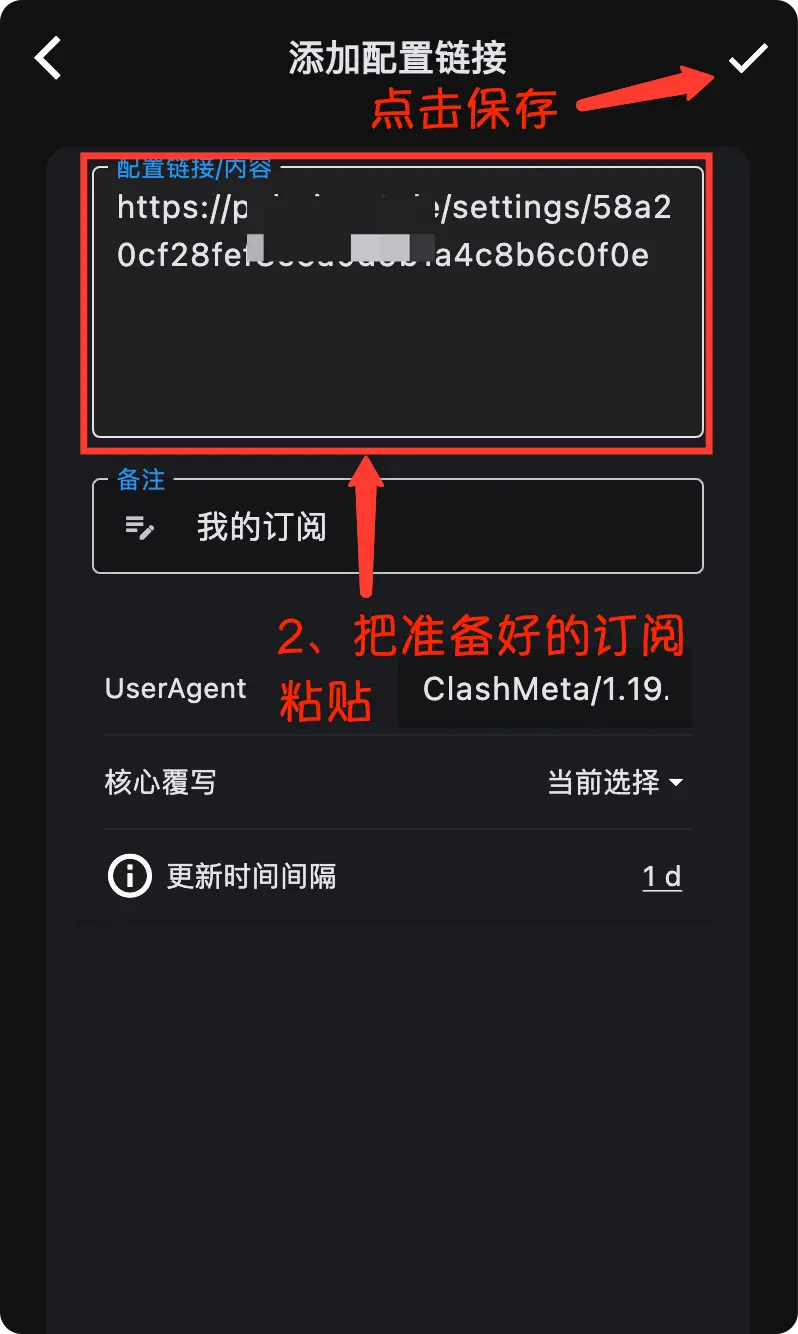
- Manage under My Profiles on the main interface.
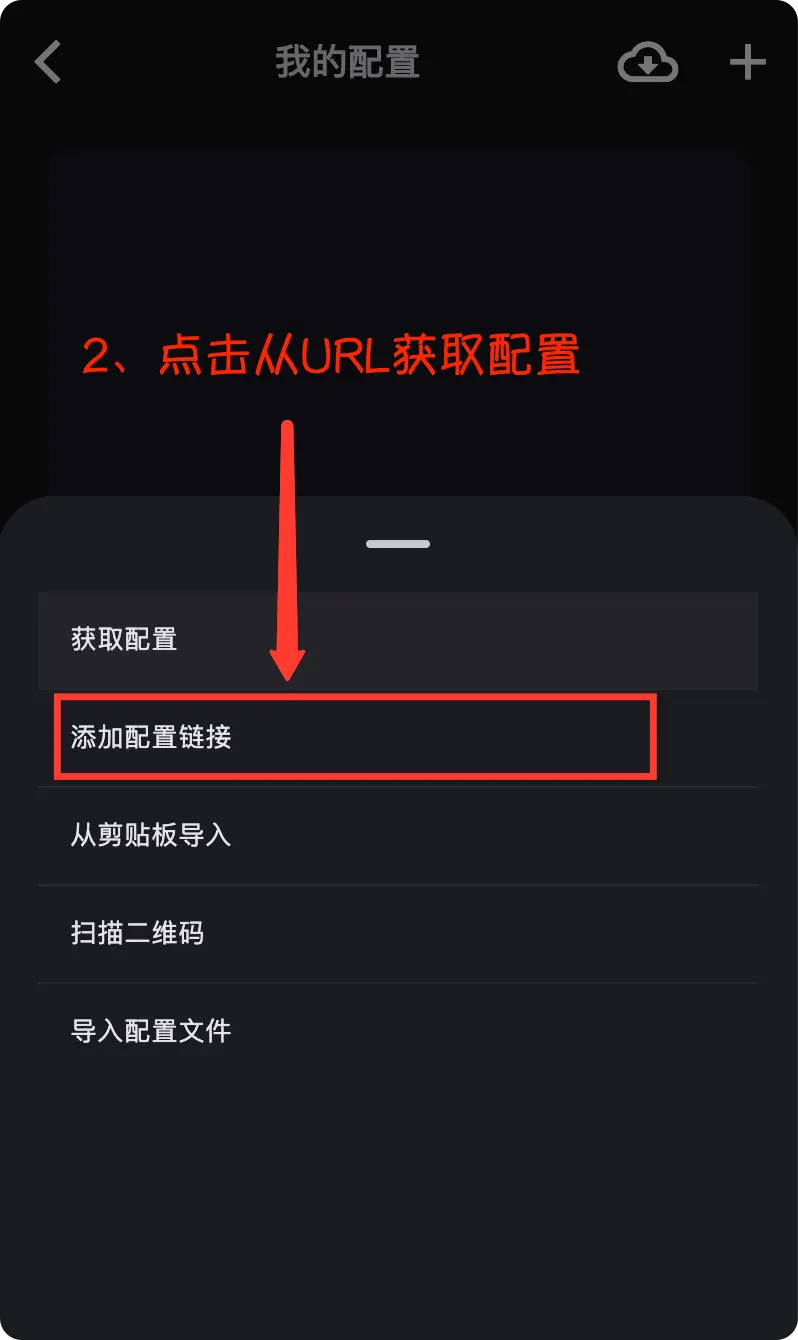
- Click the ➕ button.
- Select Add Profile Link.
- Paste the how-choose-service configuration you prepared.
- Click Confirm.
4. Start Program
Start the program to connect to the network.
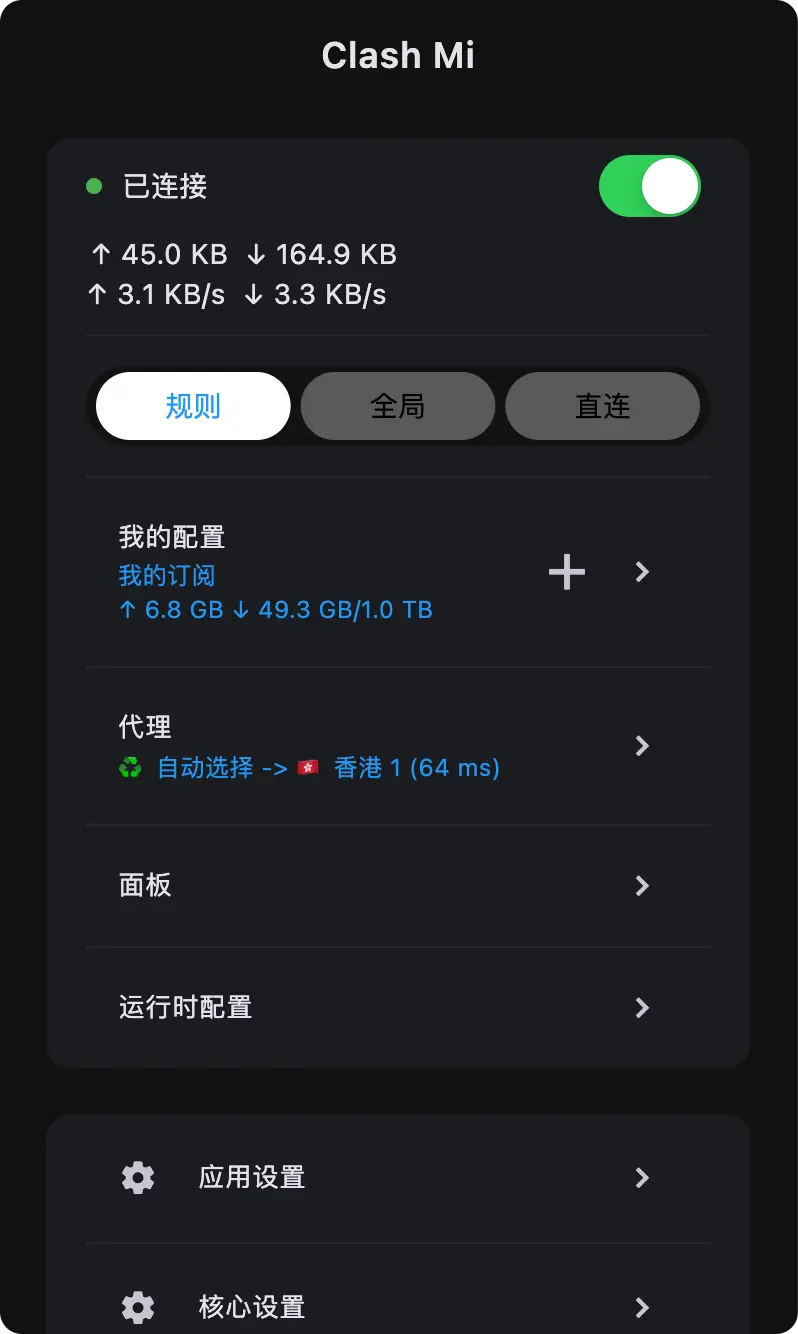
- If running for the first time, the system will ask for permissions (Android/iOS) or system proxy permissions (Windows/macOS), click Allow.
- When the button changes color and shows Connected status, the proxy is successfully enabled.
5. Select Node
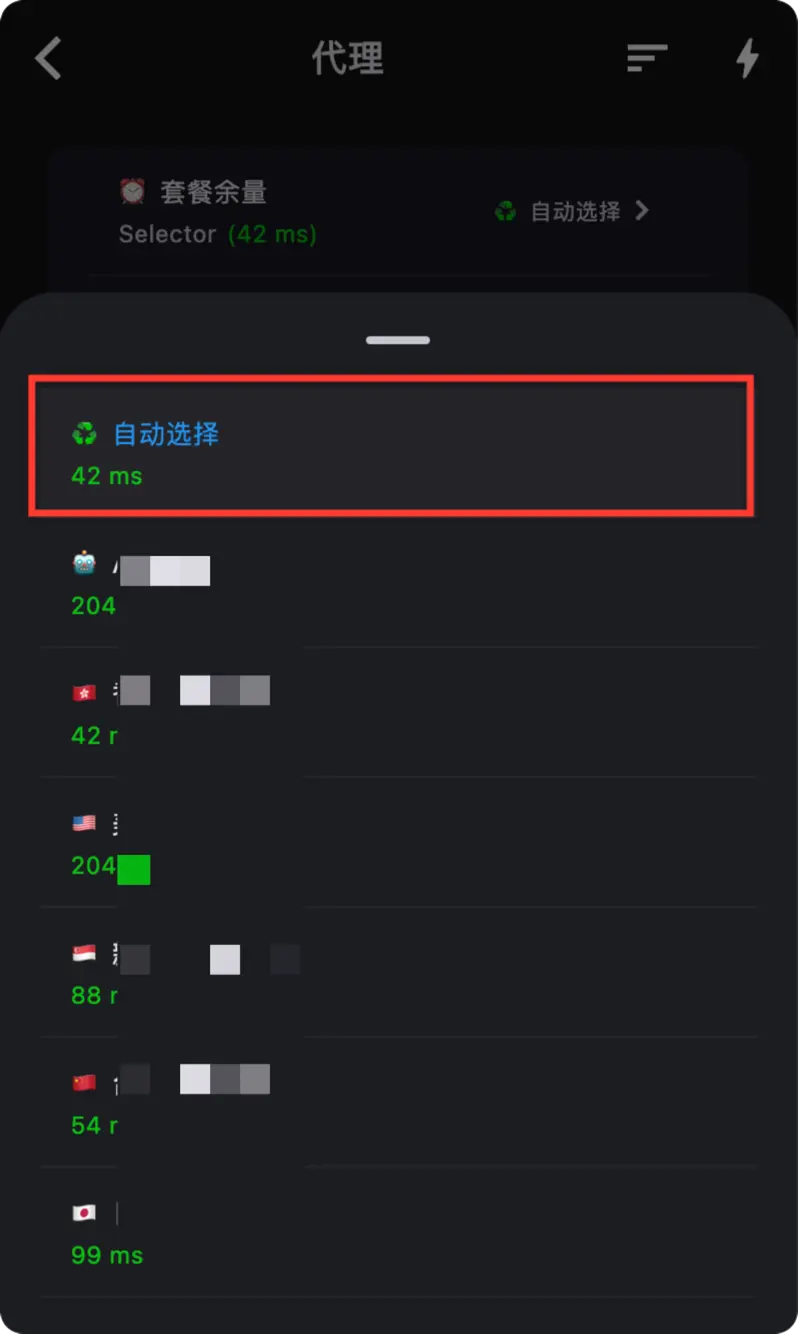
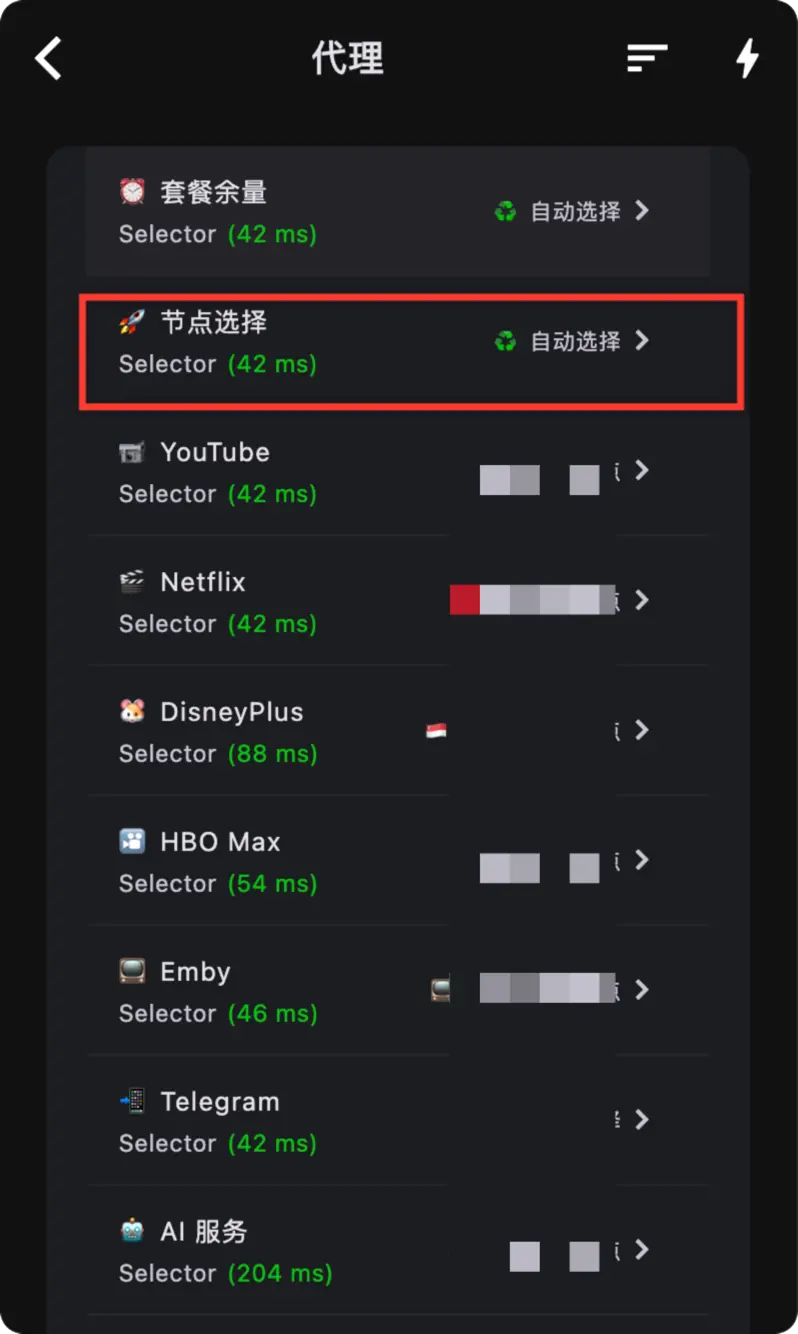
After configuration is selected, return to the main interface or proxy interface.
- Click the Proxy tab to select an exit node.
- It is recommended to use Rule mode for automatic traffic routing.
FAQ
Unable to Connect?
- Check if the how-choose-service has expired.
- Try updating the how-choose-service.
- Check if the system time is synchronized.
- For Windows users, if TUN mode is enabled, ensure you run as administrator.
Features
- Cross-Platform Consistency: Built with Flutter, ensuring a consistent experience across Windows, macOS, Android, and iOS.
- Lightweight & Fast: Small app size, fast startup, and very low resource usage.
- Powerful Core: Built-in Mihomo core, providing powerful network performance even under a lightweight interface.
- Minimalist Design: Simplified to focus on core proxy and routing functions.
📚 Selected Resources
Client Recommendations
- Clash Verge Rev - Feature-rich for PC
- FlClashX - Cross-platform multi-functional choice
- Potatso - Another free choice for iOS